Articles provide general information for the public, while Resources deliver technical guides and tools tailored specifically for ArdaCraft contributors.
Written by
Milack
Contents
Taking screenshots in Minecraft is a relatively simple task, but if you want to create something eye-catching, you need to put a bit of thought in. Well-taken screenshots can bring your build to life and help it stand out from other creations. Follow this guide and you’ll soon be making your Minecraft world look like a photograph.
How to take screenshots
Before we dive into the fun stuff, let’s start with how to take screenshots on different devices.
Minecraft Java Edition (PC):
Taking a screenshot: Press the F2 key. On a Mac or with different keyboards, try Fn + F2.
Changing controls: Prefer a different key? Head to Options > Controls > Miscellaneous to change it.
Where screenshots are saved: Find them in the .minecraft/screenshots folder, named by date and time.
Consoles (Xbox, PlayStation, Nintendo Switch):
Xbox: Press the Xbox button twice, then hit Y to capture the screen.
PlayStation: Hold the SHARE button to take a screenshot.
Nintendo Switch: Press the camera button on the left Joy-Con; screenshots will be saved to your console’s media library.
Mobile Devices (iOS, Android):
iOS: Press the Power and Home buttons at the same time, or Power + Volume Up on newer models.
Android: Press Power + Volume Down. Screenshots will show up in your Photos or Gallery app.
How to take good screenshots
Now that we know how to functionally take a screenshot, we can move on to talking about how to use real life photography techniques and in-game methods to up your screenshot game.
Know your screenshot’s purpose
Before you hit that button, think about why you’re taking the screenshot:
What’s the goal? Are you showing off a build, capturing a landscape, or marking an achievement? Knowing this will help you frame the shot better.
Where will it be shared? Different platforms have different image sizes and formats. For example, YouTube prefers 16:9, while Instagram likes square 1:1 images.
File format: Minecraft Java saves screenshots as .png files, which offer great quality. Keep this in mind if you plan to edit or share the image later.
Essential tips
Good composition is key to making your screenshot pop. Here are some easy ways to improve your shots:
Hide the HUD: Press F1 to remove on-screen elements like the health bar and hotbar, giving you a cleaner image.
Show game info: If you need to display coordinates or other details, press F3 to bring up the debug screen. Using F3 to remember co-ordinates for alater screenshot can also be useful.
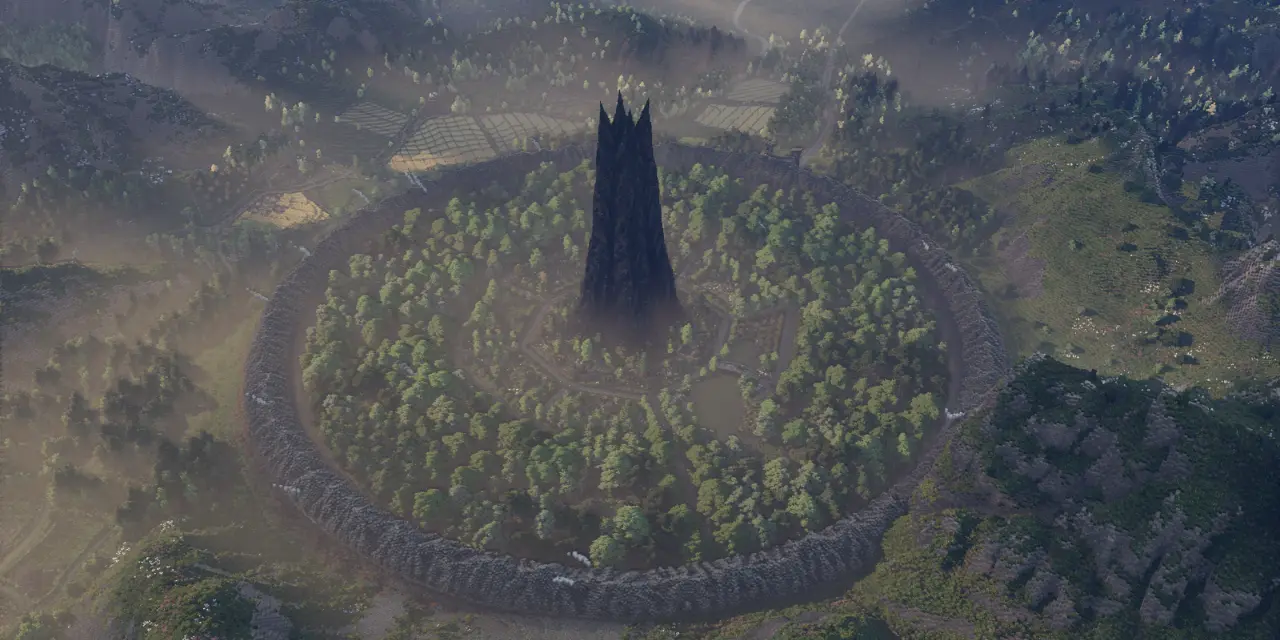
Position your character: Where you stand can change the whole feel of the shot. For a close-up and immersive vibe, position yourself at or below the level of what you’re capturing. To make a build look grand, get close and angle your camera upward. If you want a distant, smaller feel, back up to minimize the subject in the frame.
Play with colors: A mix of colors can make your screenshot more appealing. Avoid using too much of a single color, as it can make the image feel flat.
Fully load chunks: Make sure everything in your scene is fully loaded. Missing chunks can be distracting.
Adjusting the field of view (FOV)
The Field of View (FOV) setting controls how much of the scene you see. Adjusting it can dramatically affect how your screenshot looks:
Low FOV (narrow view): A lower FOV (30-60 degrees) zooms in on your subject, making it the star of the shot, perfect for close-ups.
High FOV (wide view): A higher FOV (above 70 degrees) shows more of the scene, ideal for capturing large builds or landscapes. Be careful though, too high, and it can cause distortion.
Recommended setting: An FOV around 40 works well for most shots, keeping things natural without much distortion. Experiment with it to see what works best for you.
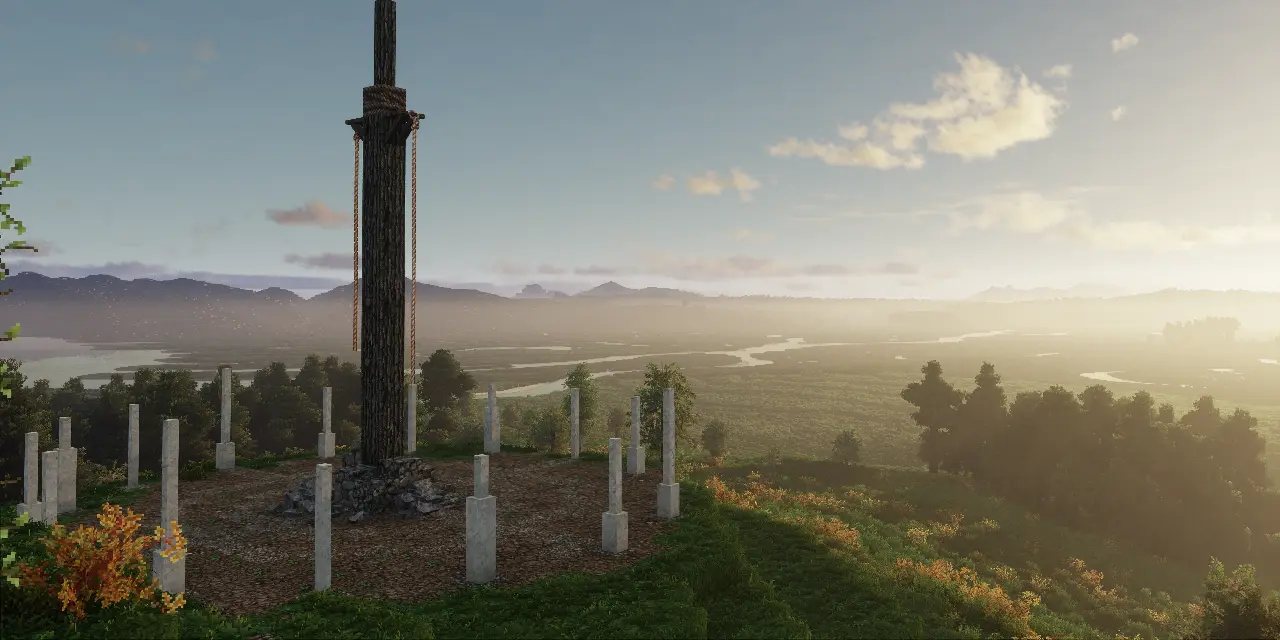
Create depth with foreground, middle ground, and background
A well-composed screenshot often has layers, which add depth:
Foreground: Elements closest to the camera, like flowers or trees, can frame your main subject and give a sense of scale.
Middle Ground: This is where your main subject usually goes, like your build or character.
Background: The background sets the scene, like mountains or other distant structures, adding context to your image.
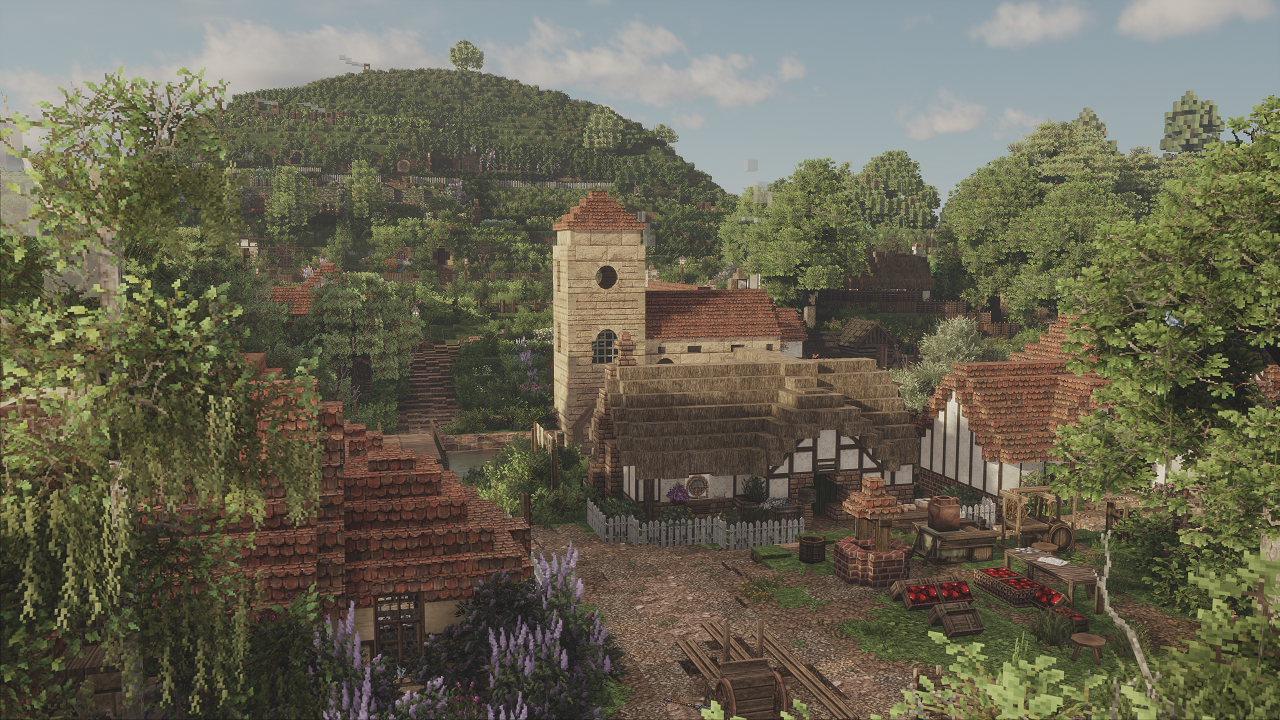
Enhance your screenshots with shaders and resource packs
Shaders can take your screenshots to the next level by adding realistic lighting, shadows, and effects. For example, Bliss shaders (which are used on the ArdaCraft server) can make your screenshots look vibrant and lifelike:
Lighting: Realistic lighting makes your builds look dynamic and more appealing.
Shadows: Enhanced shadows add depth, making your images feel more immersive.
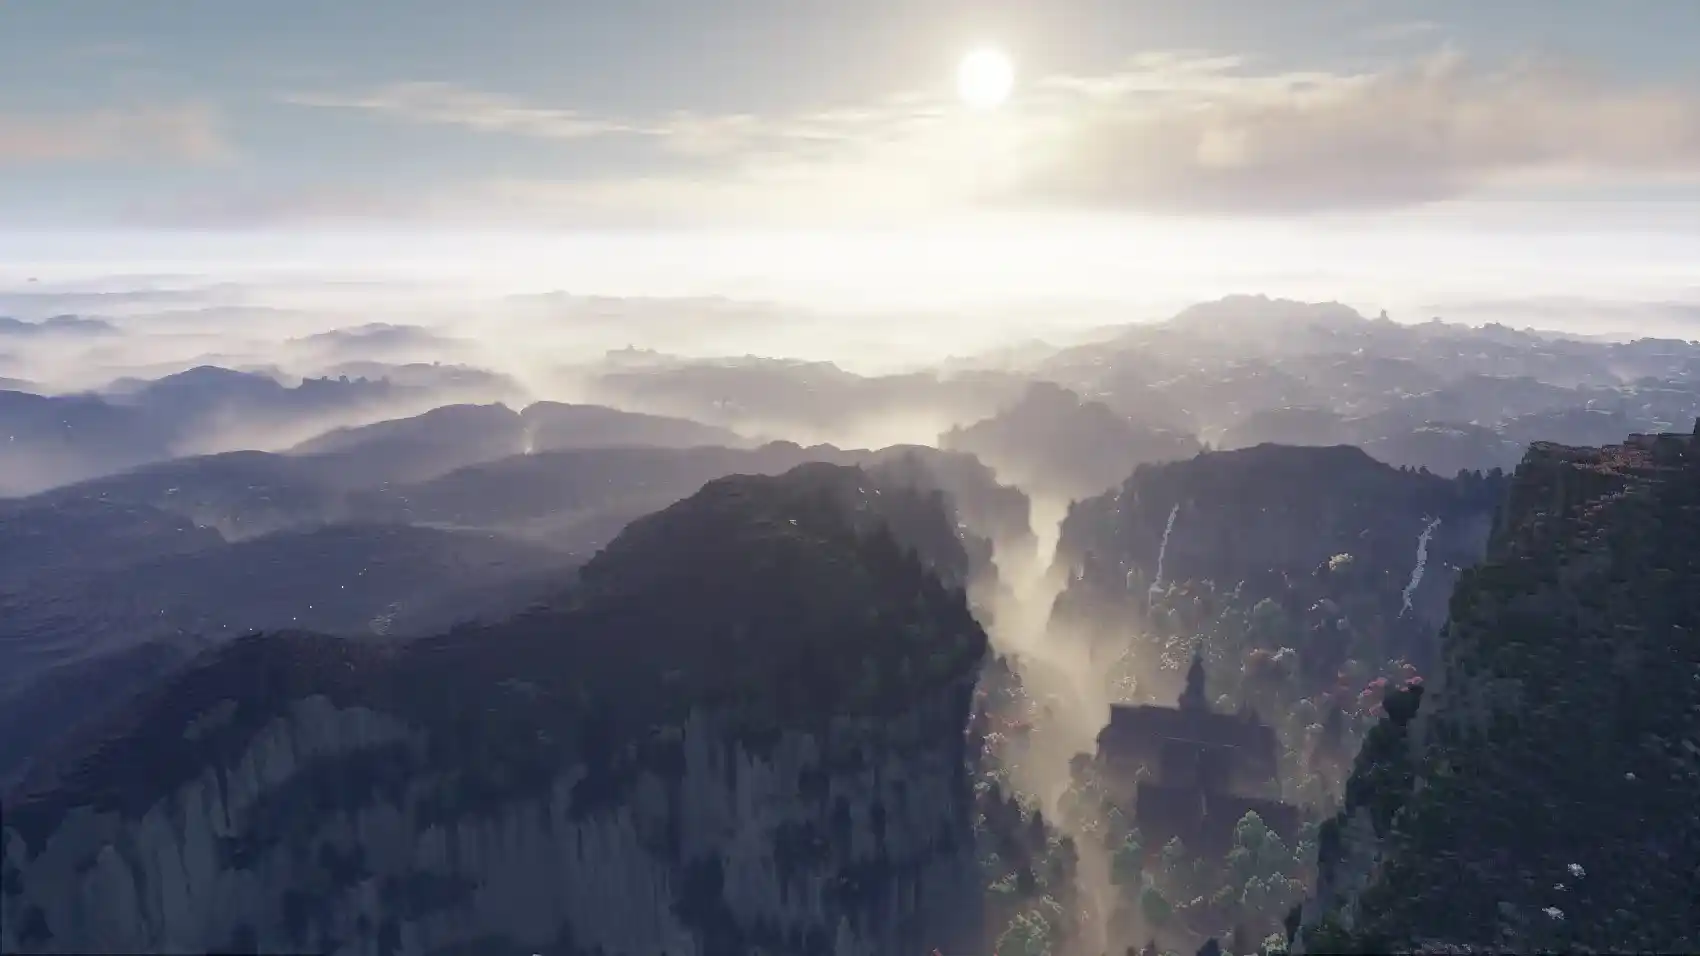
Fog: Adjust fog settings to add atmosphere, creating a sense of mystery or hiding parts of a build you want to remain unseen.
Sky and Clouds: The sky can change the mood of your shot, think warm sunsets or moody, overcast afternoons.
Time of Day: The golden hour (just after sunrise or before sunset) is perfect for warm, soft lighting that makes everything look magical.
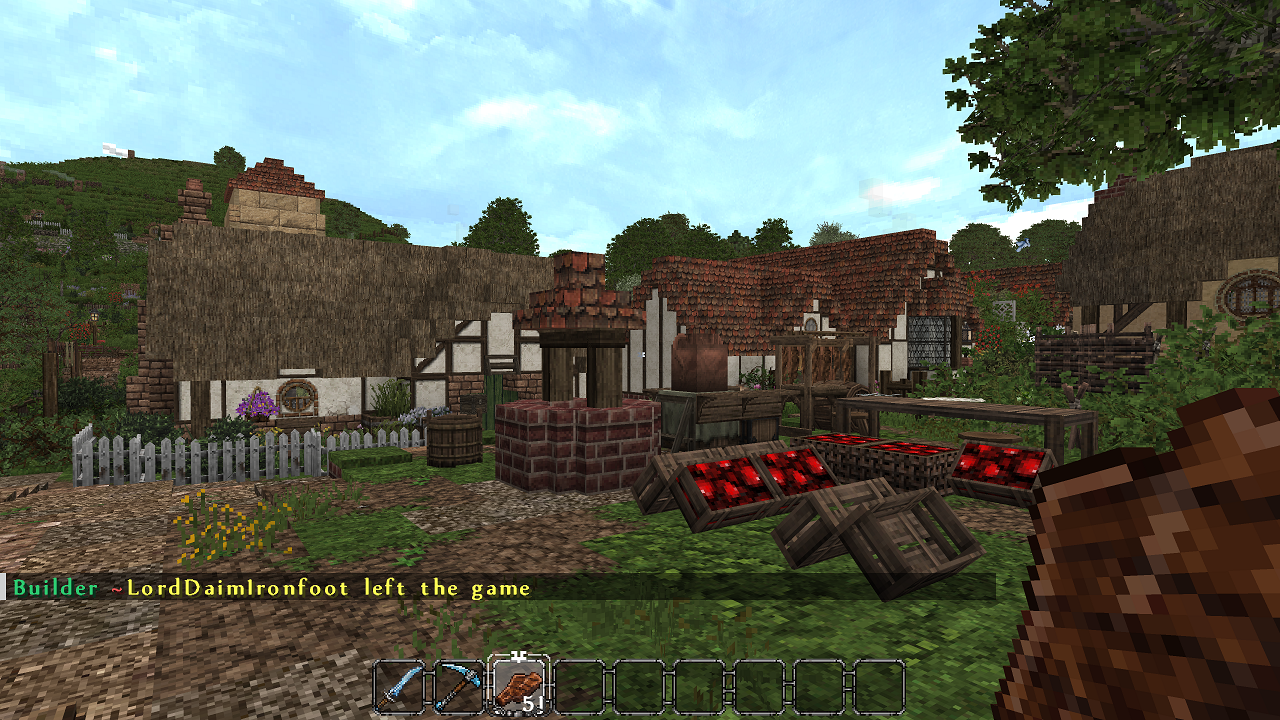
Tip: For more detailed textures, try custom resource packs. The Conquest Reforged, which we use on our server, is a good option. It can further enhance the visual quality of your screenshots !
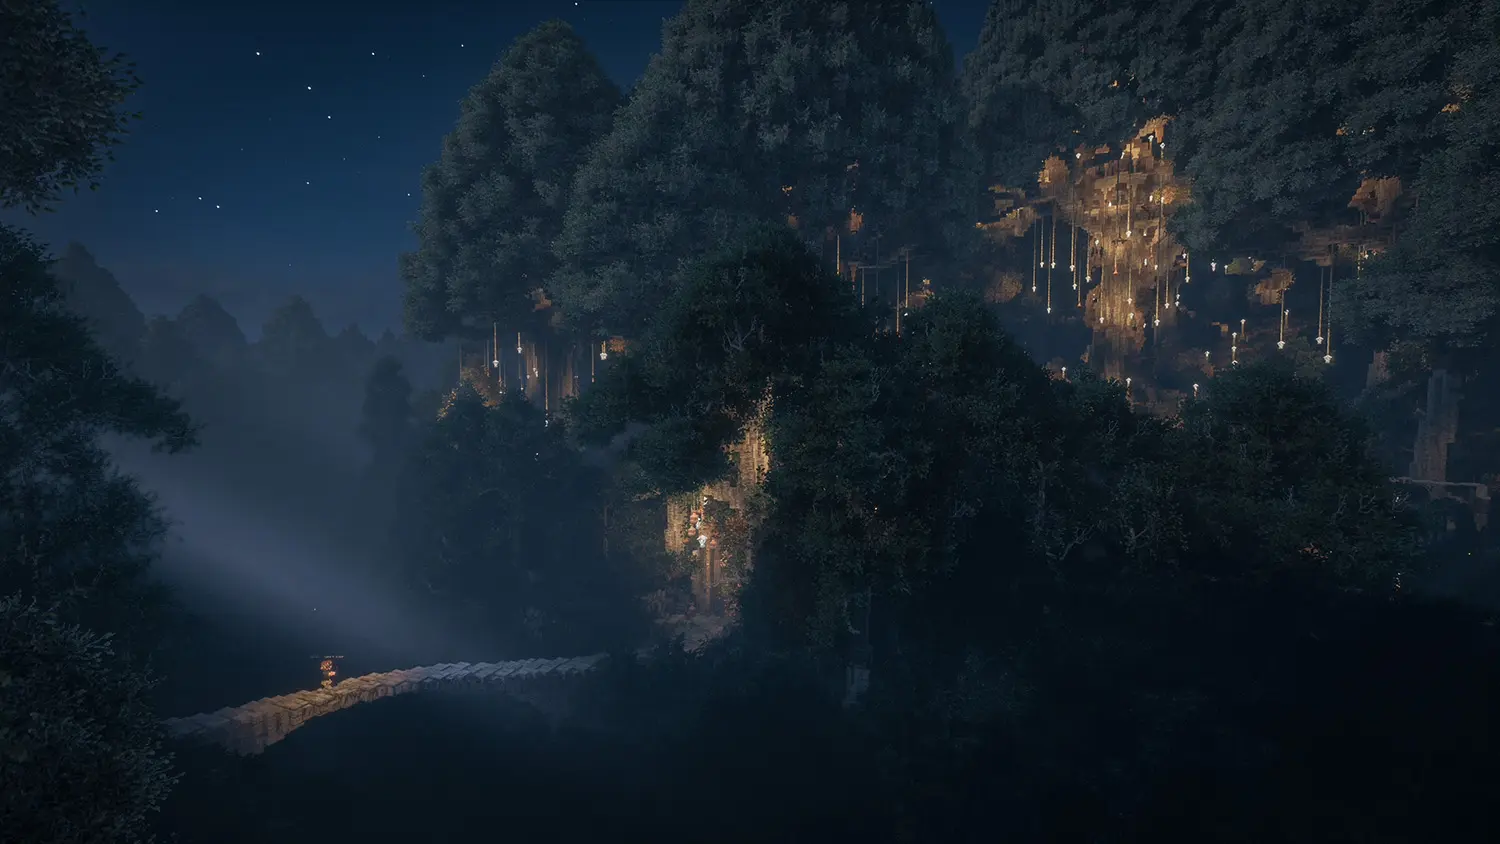
Lighting and shadows
Lighting is everything when it comes to setting the mood. You don’t need shaders to get good results, just use these tips:
Use light sources (torches, …): Place them strategically to highlight parts of your build or create dramatic shadows.
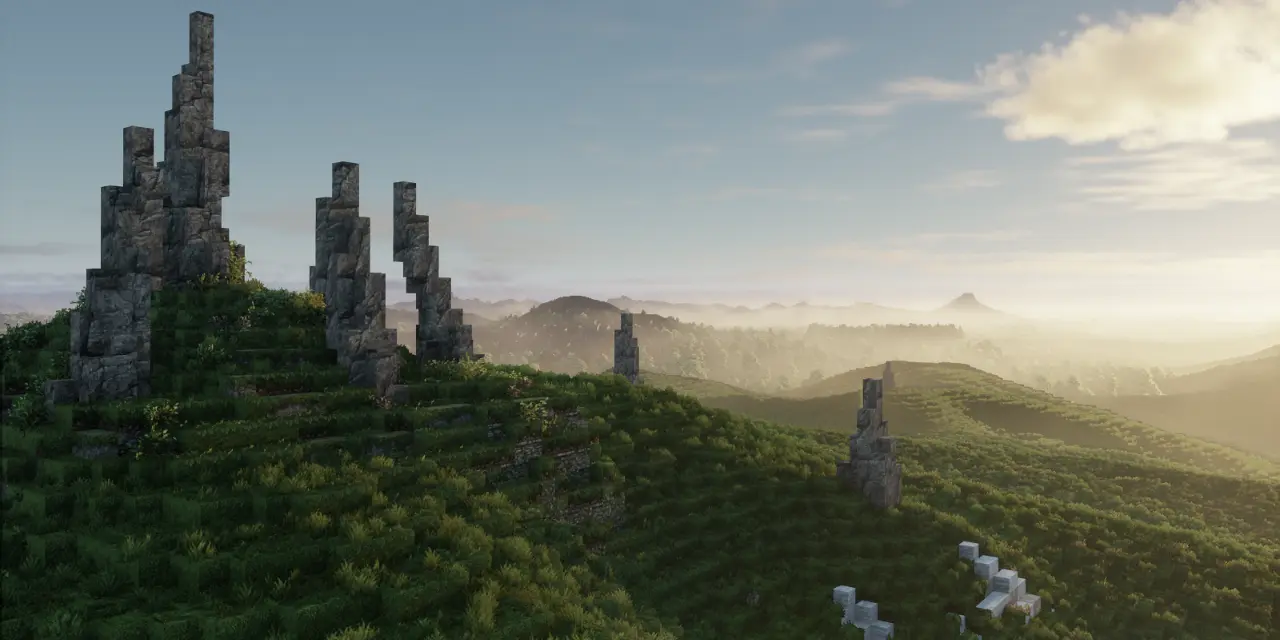
Natural daylight: The time of day affects the lighting. Early morning or late afternoon light (known as the “golden hour”) gives a warm, soft glow that adds depth.
Experiment with shadows: Shadows can make your image feel more realistic. Try capturing the long shadows of sunrise or sunset to create a more dramatic scene.
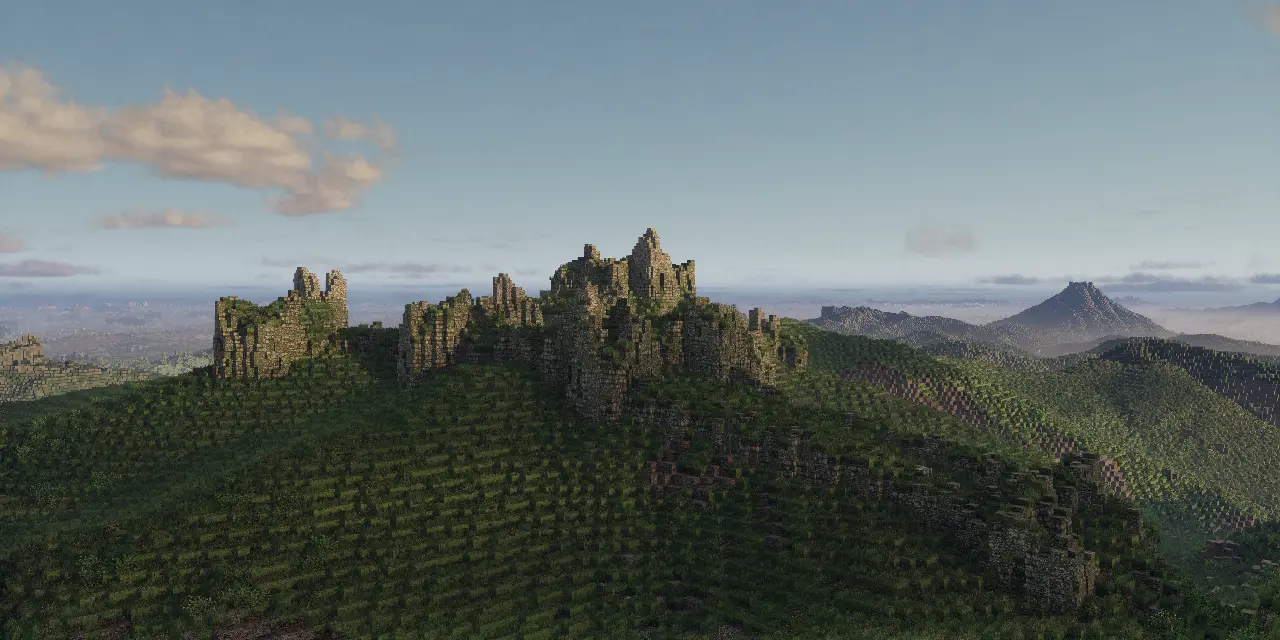
Conclusion
Taking great screenshots in Minecraft isn’t just about pressing the right buttons, it’s about combining time of day, the weather and other environmental factors to create a showpiece worthy of the build. So whatever you’re sharing, be it a small, homely house or an ancient fortress, a good screenshot can take your work to the next level and impress whoever you show it to!
So, next time you’re ready to snap a pic, take a moment to set up your shot. Play around, practice, and most importantly, have fun with it!